
How to Disassemble a Lenovo Laptop: A Comprehensive Guide
Introduction
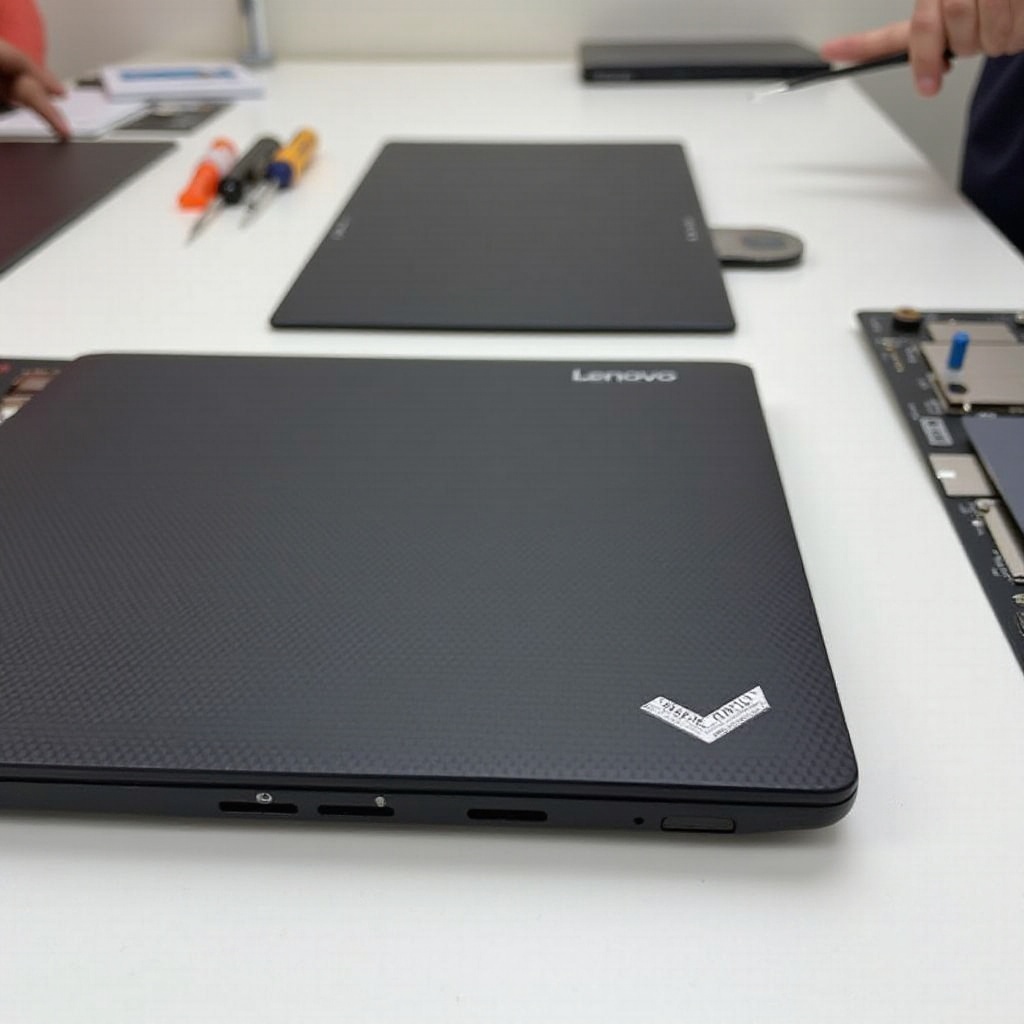
Knowing how to disassemble a Lenovo laptop can save you money and extend the life of your device. Whether replacing a faulty component or exploring the internals for an upgrade, our comprehensive guide will help you safely navigate the disassembly process. Lenovo laptops, known for their user-friendly design, are accessible even for beginners. This guide will provide step-by-step instructions, ensuring you can confidently tackle the task at hand.
Essential Tools and Preparation
Before diving into the disassembly process, it’s crucial to gather the essential tools and organize your workspace. By preparing effectively, you minimize the risk of mistakes and keep the process smooth.
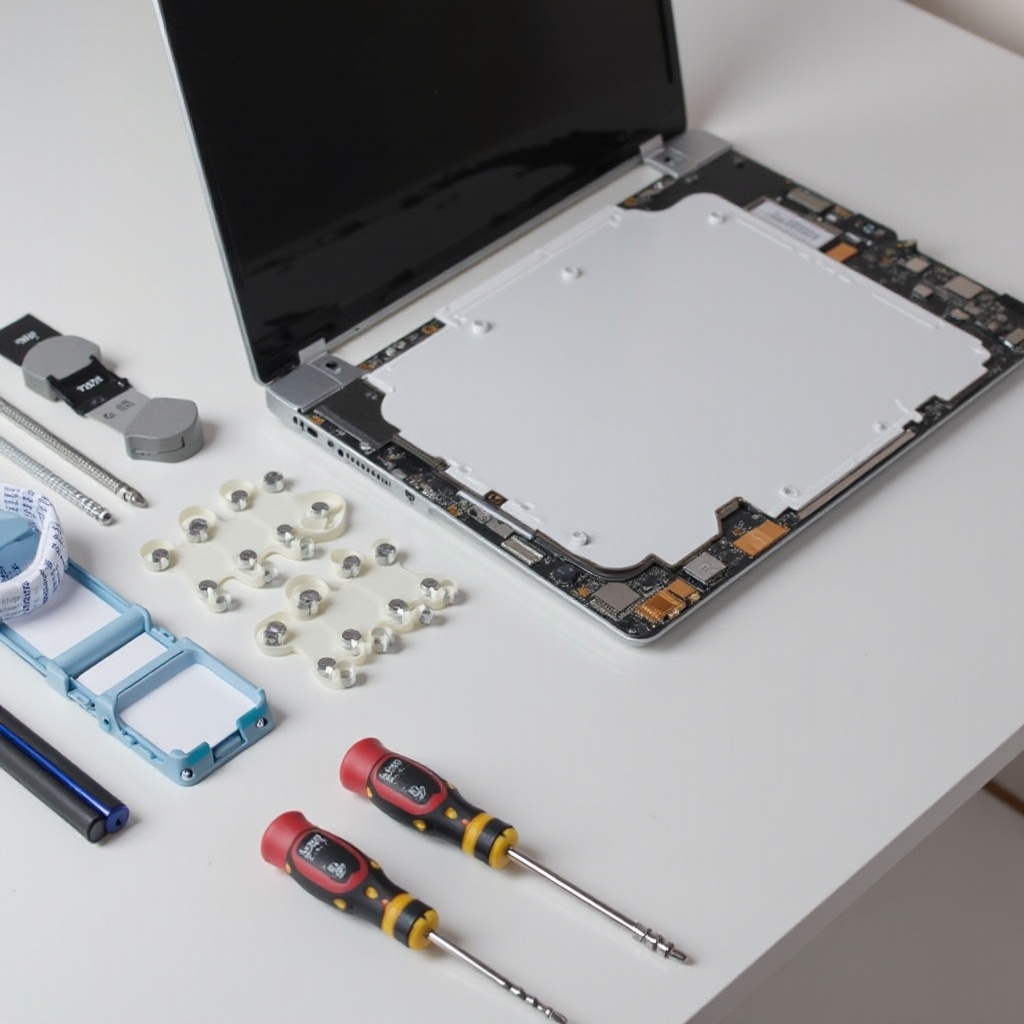
- Tools Required for Disassembly:
- Phillips and flathead screwdrivers
- Plastic spudger
- Anti-static wristband
-
Tweezers
-
Preparing Your Workspace:
- Choose a clean, well-lit surface to work on.
- Use small containers or a magnetic mat to secure screws and small parts.
-
Ensure the area is static-free to protect sensitive components.
-
Precautionary Measures:
- Power down your laptop and disconnect any cables.
- Remove external devices like USB drives and SD cards.
- Connect the anti-static wristband to avoid static discharge.
With your tools ready and your environment set up, you’re prepared to safely disassemble your laptop, making each step easier and more manageable.
Step-by-Step Disassembly Process
Disassembling a Lenovo laptop requires precision and attention to detail. Follow these specific steps to safely access your laptop’s internal components.
- Removing the Battery:
- Place the laptop upside down and locate the battery compartment.
-
Release the battery lock and carefully remove the battery.
-
Detaching the Bottom Panel:
- Identify and unscrew all visible screws on the laptop’s underside.
-
Use the plastic spudger to gently pry open the bottom panel.
-
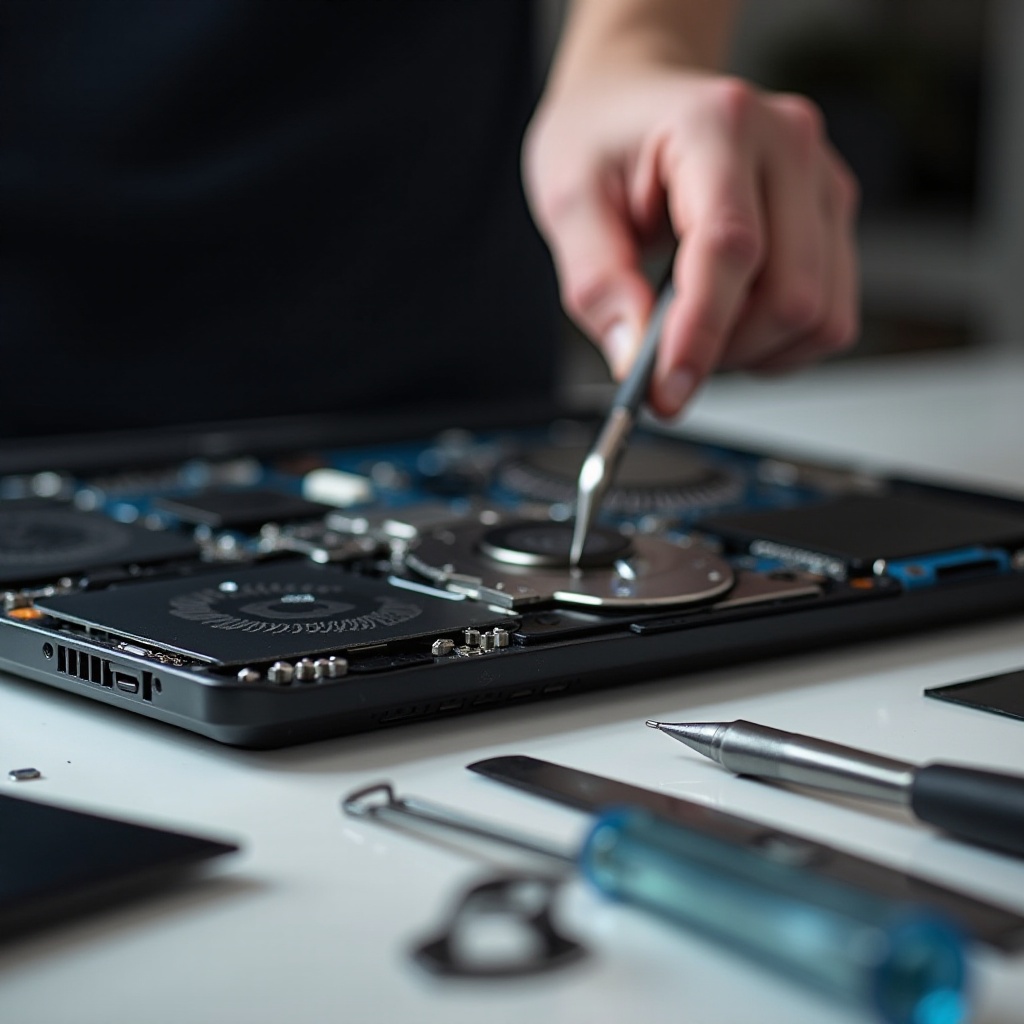
Accessing Internal Components:
- RAM and Hard Drive Removal:
- Locate the RAM and hard drive bays within the exposed internals.
- Release any clips or screws securing the RAM and hard drive, then carefully remove them.
- Detaching the Keyboard and Screen:
- Unscrew the keyboard, gently lift it, and disconnect the ribbon cable.
- Remove screws and carefully detach the screen by unplugging its connectors.
After gaining access to the internal components, you can address necessary repairs or upgrades. Move forward carefully, ensuring each step is conducted with precision.
Common Challenges and Solutions
During disassembly, challenges may arise, particularly if you’re new to the process. Here are solutions to common issues to help you navigate obstacles effectively:
- Handling Stubborn Screws:
-
Apply firm, steady pressure and consider using a larger screwdriver to prevent stripping.
-
Managing Fragile Connectors:
-
Use tweezers for delicate connectors and carefully label them for easier reattachment.
-
Avoiding Static Damage:
- Keep wearing your anti-static wristband and periodically touch grounded metal to discharge static.
Understanding and addressing these common challenges ensures a smoother disassembly, paving the way for a successful reassembly.
Reassembly Process
Once you’ve completed any necessary repairs or upgrades, reassembling your Lenovo laptop involves reversing the steps with care and accuracy.
- Step-by-Step Guide to Rebuilding:
- Reattach the screen and keyboard, ensuring connectors are secure.
- Reinsert the RAM and hard drive in their respective slots.
-
Replace the bottom panel, aligning it correctly before securing with screws.
-
Ensuring Component Compatibility:
- Double-check connections and the installation of new components.
-
Verify everything fits as intended before reinstalling screws.
-
Post-Reassembly Testing:
- Turn on your laptop, observing for any errors or malfunctions.
- Conduct a full functionality test to confirm repairs or upgrades are effective.
Meticulous reassembly is vital to ensure your Lenovo laptop functions properly after disassembly, allowing any updates to improve performance effectively.
Frequently Asked Questions
What should I do if I lose a screw during disassembly?
Use a suitable replacement or order a part directly from Lenovo if available.
How can I safely store removed components?
Utilize labeled containers or bags to organize and protect components from damage.
Is it worth disassembling my laptop myself rather than going to a professional?
If you’re comfortable with DIY projects, you can save money and learn about your device. However, professionals are recommended for complex issues.